- Contact Us
- Phone (973) 221-3683
192 Diamond Bridge Ave Hawthorne, NJ 07506
*/ AVAILABLE FOR EVENTS & BULK ORDERS (25+ PIECES ONLY). NO IN PERSON STUDIO WORK OR SINGLE PIECES \*
*/ AVAILABLE FOR EVENTS & BULK ORDERS (25+ PIECES ONLY). NO IN PERSON STUDIO WORK OR SINGLE PIECES \*
192 Diamond Bridge Ave Hawthorne, NJ 07506

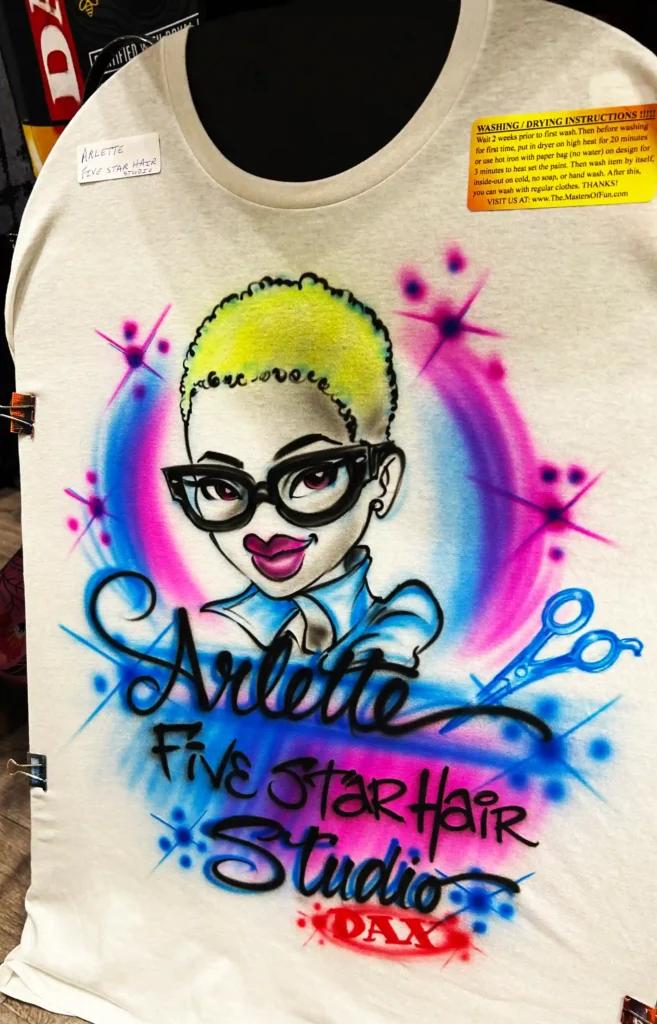
A paintbrush is great for small details, but it can leave streaks and ridges on a large piece of plastic. An airbrush sprays a fine mist of paint that settles in a thin, even layer. It follows the curves of a tank, a car body, or a starship hull without leaving a single brush mark, and that smooth finish is the main reason so many hobbyists make the switch.
Here at Airbrush Events NJ we spend our days with an airbrush in hand. Our canvas is usually a shirt or a hat at a party, but the tool behaves the same way no matter what you point it at. Once you understand air, paint, and distance, painting a model feels a lot less scary. This guide covers the basics in plain words so you can get started with confidence.
If we piqued your interest and you are ready to get started, or perhaps have some questions.
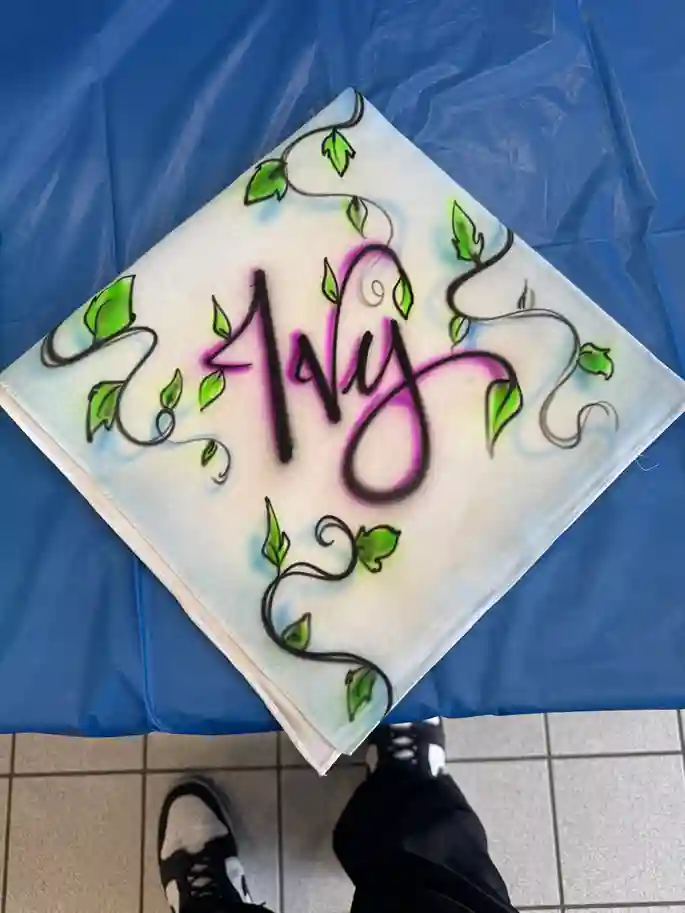


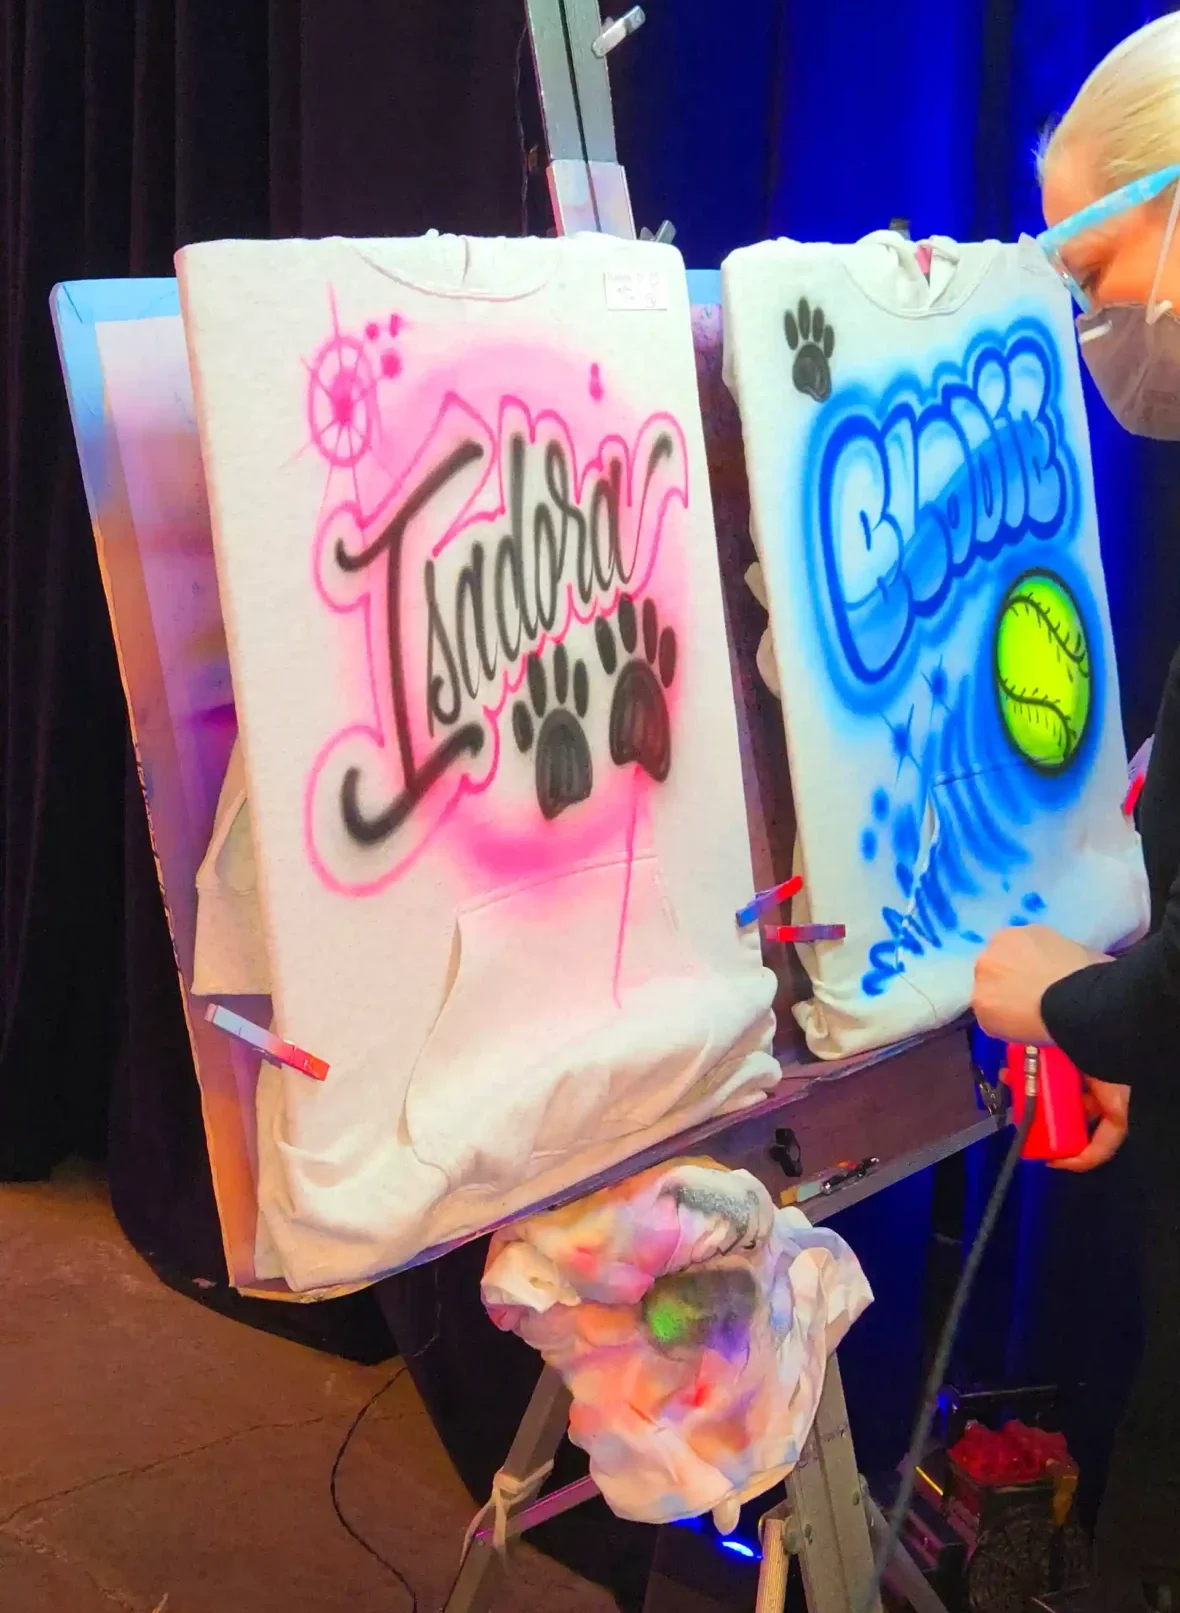
For models, most people start with a dual action airbrush that has a gravity feed cup. Dual action means you press the trigger down for air and pull it back for paint, which gives you a lot of control over how much comes out. Gravity feed means the cup sits on top, so paint flows into the needle with very little air pressure. A nozzle size around 0.3 millimeters is a safe all round choice for both base coats and fine detail.
You also need an air source. A small compressor with a regulator and a moisture trap is ideal, because the regulator lets you set the pressure and the trap keeps water out of your paint. For most model work, somewhere between 15 and 20 PSI is a comfortable starting point. Go a little lower for tiny details and a little higher for primer and big flat areas.
Next comes paint. Acrylics are the easiest place to start since they have a mild smell and clean up with water or a dedicated thinner. Lacquers and enamels give tough finishes, but they need serious ventilation and a proper respirator. Whatever you pick, thin it before you spray. A good target is something close to the thickness of milk, because paint straight from the bottle is usually too thick and will clog the tip.
Always test your mix before it touches the model. Spray a few passes on a spare sprue, a piece of cardboard, or a plastic spoon and watch how it lands. Every surface takes paint a little differently. We see this all the time when we airbrush hats and beanies, which behave quite differently from a smooth cotton shirt. A quick test spray tells you whether the paint is too thick or too thin before you commit.
Finally, prep the model itself. Wash the parts in warm soapy water to remove mold release oil, let them dry fully, and apply a thin coat of primer. Primer gives the color coats something to grip and shows you any seam lines or scratches you missed while sanding. Fixing those problems now is far easier than fixing them under a finished paint job.
Start each pass with the airbrush pointed away from the model. Press down for air, pull back for paint, and sweep across the surface in one smooth motion. Release the paint at the end of the stroke while the air keeps flowing, then let go of the trigger. Starting and stopping off the model keeps heavy bursts of paint from landing on your work.
Distance changes everything. Hold the airbrush about two to four inches away for general coverage, and move closer for thin lines and small details. If you get too close the paint can pool or run, and high pressure can create webby lines around the edges of the spray that modelers call spidering. If you stay too far back the paint dries in the air and lands rough and dusty. Practice on scrap plastic until you can feel the sweet spot.
The biggest beginner mistake is trying to cover everything in one heavy coat. Light coats work better. Spray a thin layer, let it dry for a few minutes, then add another. Two or three light passes will give you smooth, even color without hiding the fine detail molded into the plastic.
Fabric teaches the same lesson. When we airbrush sweatshirts and sweatpants, a light layered approach looks much cleaner than flooding one spot with paint. On a model, layering also lets you add shading. Try spraying a darker color along the panel lines first, then mist the main color lightly over the top. The base shows through just enough to give the model some depth.
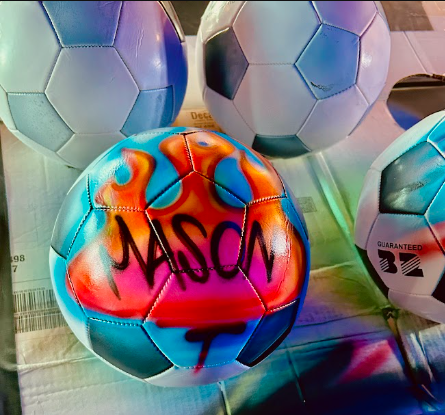
Clean your airbrush right after every color. Paint that dries inside the nozzle causes most of the spitting and clogs people complain about. Empty the leftover paint, run cleaner or thinner through the cup until it sprays clear, and wipe the cup with a cotton swab. It takes about two minutes and saves a lot of frustration.
Every so often, give it a deeper clean. Pull the needle out, wipe it gently with a damp cloth, and rinse the nozzle and cap with cleaner. Treat the needle tip with care, because even a small bend will throw off your spray pattern. A tiny drop of airbrush lubricant on the needle keeps the trigger moving smoothly, but a little goes a long way.
Practice is what makes everything above feel natural. Spend ten minutes before each session drawing lines and dots, then a few soft fades, on scrap material. You will start to notice how small changes in pressure, paint thickness, and trigger movement affect the result. Add one new skill at a time, such as masking a camouflage pattern or shading panel lines, instead of tackling everything at once.
Masking is worth learning early. Hard edge camouflage can be made with masking tape, while soft edge patterns look great with rolled putty or paper cut to shape. Let each color cure properly before you tape over it, because tape pulled from half dry paint can lift the finish. Overnight is a safe wait for most acrylics.
Airbrushing grows with every project you finish. Our airbrush artists across New Jersey rely on the same habits you build at your workbench, like steady hands and clean tools. If you ever plan an event and want to see an airbrush artist at work, you can talk with our team about your date and we will help with the rest.
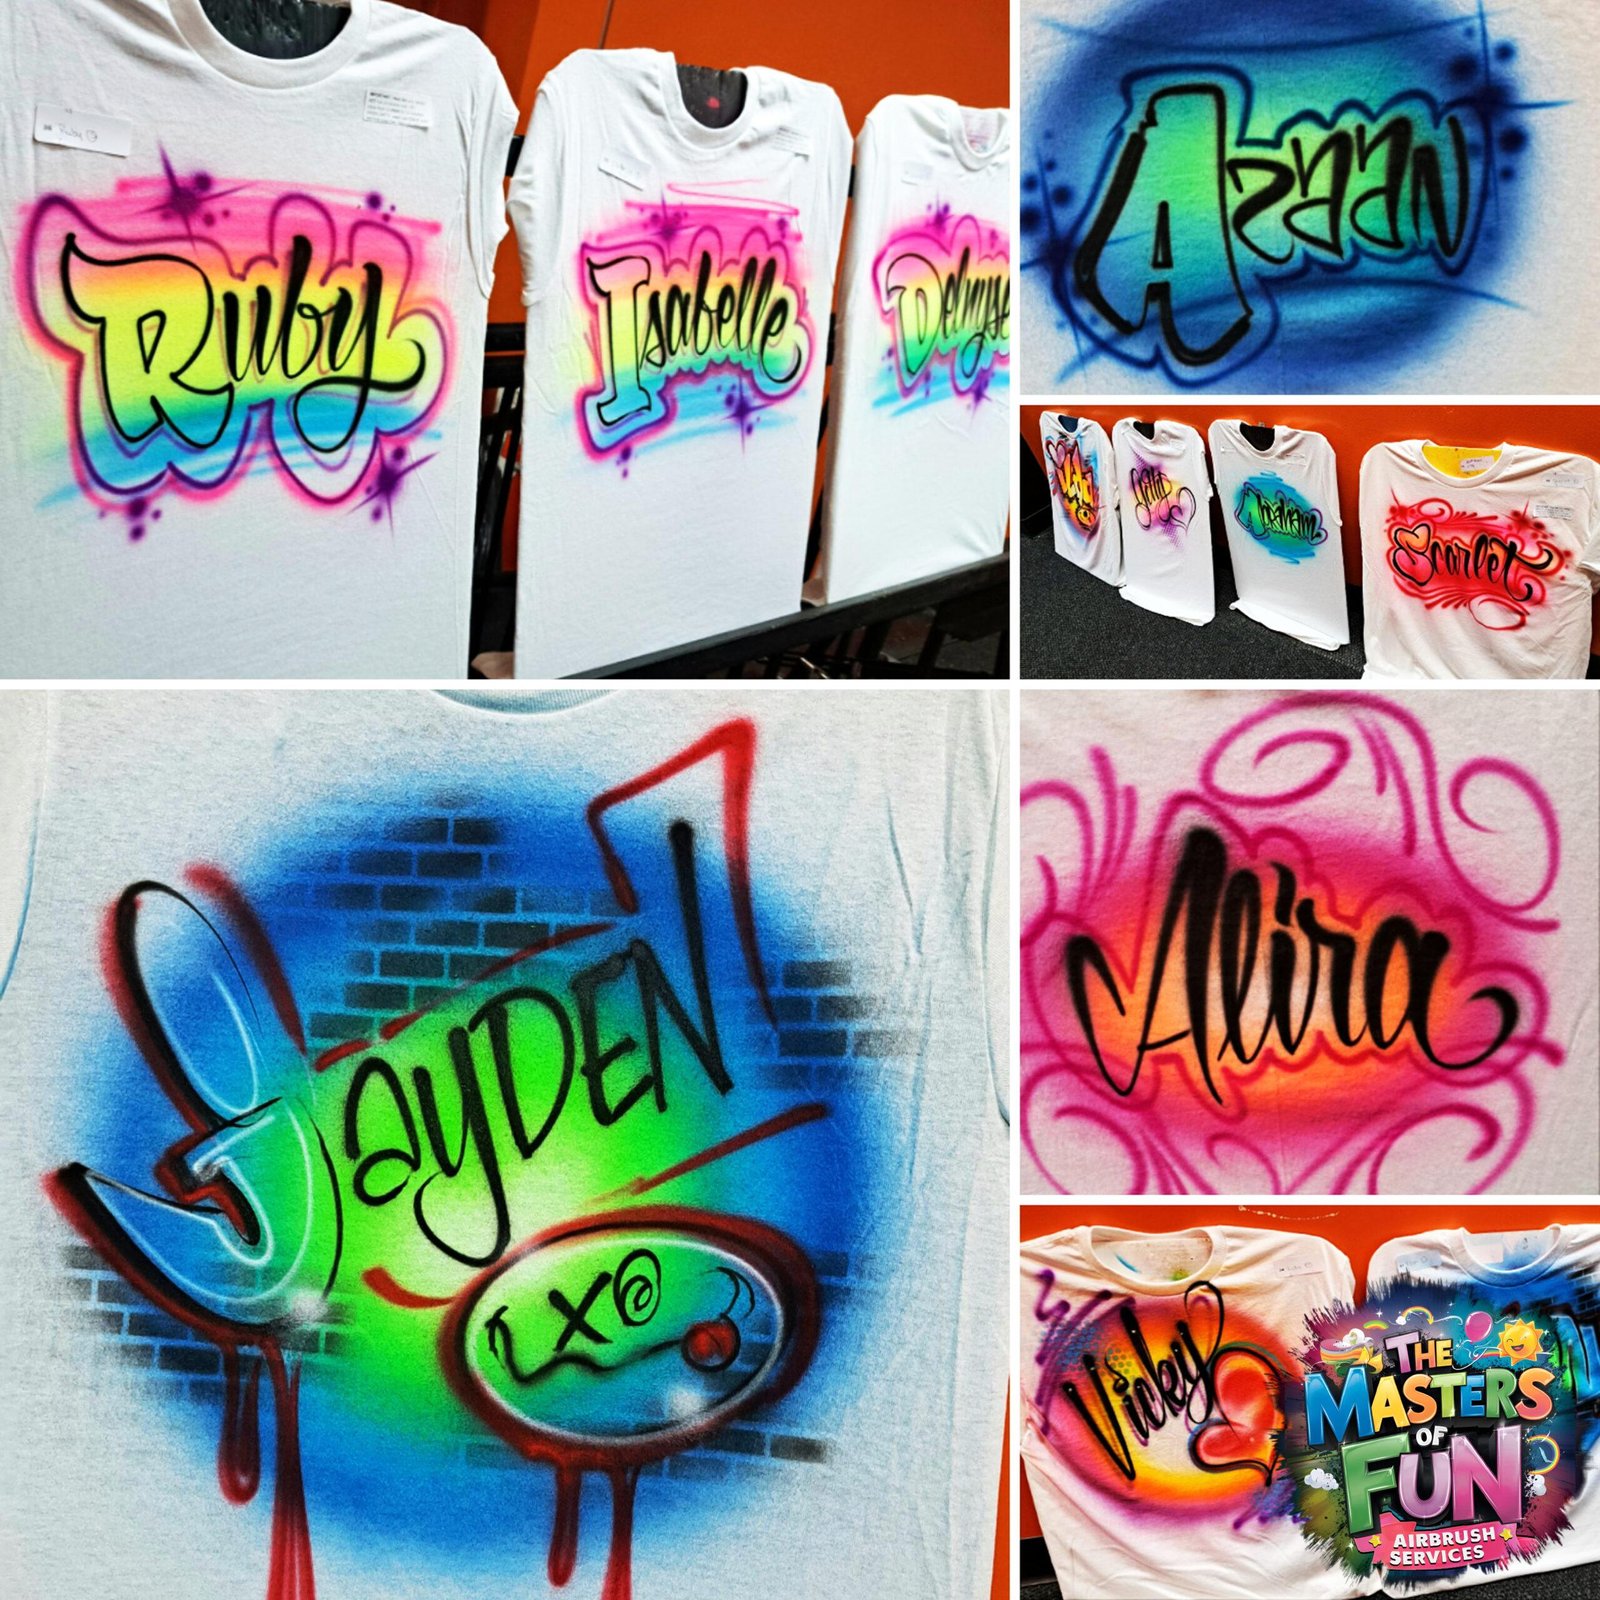
A dual action airbrush with a gravity feed cup and a 0.3 millimeter nozzle is the most popular choice for scale models. It handles both base coats and fine detail well. If you mostly paint large kits, a 0.5 millimeter nozzle covers big areas faster, while a 0.2 millimeter nozzle suits very small parts.
Aim for the thickness of milk. Many acrylic paints need a little thinner added, and the exact ratio depends on the brand, so check the label. Spray a test pass before you commit. If the paint spits or leaves a rough texture, it is probably too thick. If it runs or looks watery, add less thinner next time.
Most modelers land somewhere between 15 and 20 PSI for general painting. Use lower pressure for fine lines and detail, and slightly higher pressure for primer and larger areas. Start low, test on scrap, and raise the pressure slowly if the paint is not flowing well.
Yes, it is a smart idea. Even water based acrylics put a fine mist into the air that you do not want to breathe in. Lacquers and enamels are much stronger, so a respirator rated for organic vapors and good airflow from a spray booth or an open window with a fan are important.
Yes. Airbrushes work on fabric, hats, bags, and even sports equipment as long as you use the right paint for the surface. That is exactly what we do at events, painting shirts, tote bags, and custom pieces live for guests at Bar Mitzvah celebrations and parties. The skills carry over, though fabric paint and model paint are different products, so do not mix them up.
Thank you for reaching out—we’re excited to hear about your event! You will also receive an email confirmation letting you know that we sucessfully received your completed form. If you don’t see it, please check your spam or junk folder. A member of our team will contact you within 1–2 business days.
For faster service, you’re also welcome to call us at 973.221.3683